
FELT BOARDS IN THE CLASSROOM:
A flannel or felt board is an important part of any early childhood classroom. One of the biggest benefits of having and using a flannel board is the opportunities it creates for oral language development. At the felt board students can re-tell nursery rhymes, fairy tales and other popular stories or songs IN SPANISH too! Flannel boards come in a variety of shapes and sizes and the ideas for using them are endless!
Here are a few ways to make your own felt boards if you don't have one already!!
PIZZA BOX FLANNEL BOARDS


The pizza box flannel board is a great way to create individual felt boards, while storing the pieces easily. Now students can select a box and sit down on the carpet to re-tell their favorite stories. The re-telling center will become so popular now than ever before because you can offer more choices to the students. Creating your own individual pizza box flannel boards is super simple! I have included the materials you will need below.
- Flannel/felt from craft store or from the recycling center (FREE)
- Hot Glue Gun
- Scissors
- Pizza Boxes- ask your local pizza parlor for unused boxes, most are happy to donate for FREE
- Optional: Computer labels
Directions: Cut your felt to fit the front of the pizza box and use the glue gun to adhere the flannel to the front of the box. Flannel stories can be stored inside the box. The name of each story or song can be typed on a computer label and attached to the side of the boxes. Store several boxes on a shelf and allow students to choose their favorites.
CANVAS FELT BOARDS
Go to a craft store like Michaels or AC Moore and purchase some inexpensive canvas boards. Use a staple gun to staple the felt to the board and voila! You have yourself a felt board!


Not only can you make a big one for use at circle time, but you can make several SMALL boards for the kids to use at the table to re-tell stories and songs.


--------------------------------------------------------------------------------------------------------------------------------------------
Now that you've made your own felt board...now what??
Here's a creative idea that can be used with ANY AGE!!
Create a "STICKY BOARD" to count straws!
1.) Tape Contact Paper to your Felt Board with the Sticky Side OUT.
2.) Have kids select some straws and add them to the Sticky Board during Circle time.
3.) Once straws are all added to the board, count them together as a group!
4.) Leave the board out during Center Time with colorful straws. Put straight ones and the bendy kind, long and short ones to create various designs. Super FUN!


Or....
Use the felt board as a nice soft surface for the kids to do sorting with buttons or use other small items. Notice the creative use of the egg carton!

Making patterns....

Telling stories...
Math Activities


How about Tic Tac Toe?
Have the kids help add the pieces to the felt board as an interactive way of story telling!

Remember: You don't HAVE to be an artist to draw your own felt pieces! You can easily print out images from Google Images so you can laminate and add VELCRO to the back to create your pieces.
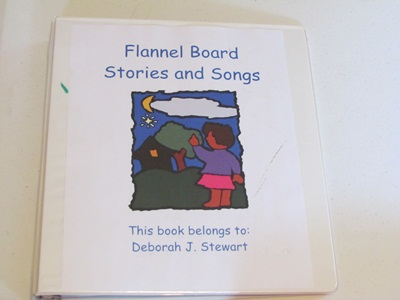
You've made all of the pieces, now where do you store them??
Here's a great way to store all of those pieces!
Get a couple of 3 ring Binders....
Put the pieces in some Gallon sized ziploc bags... Be sure to punch holes in the bag
Or store smaller pieces in sandwich sized bags and place in page protectors...
You can even close the top of the page protectors with a piece of velcro on the top.
Be creative and have fun creating your collection!!
Jacie
Jacie Feinberg, Education Director
Pine Village Preschool
214 Lincoln Street Suite 112
Allston, MA 02135www.MyBilingualPreschool.com
781-710-2348 (cell)
No comments:
Post a Comment